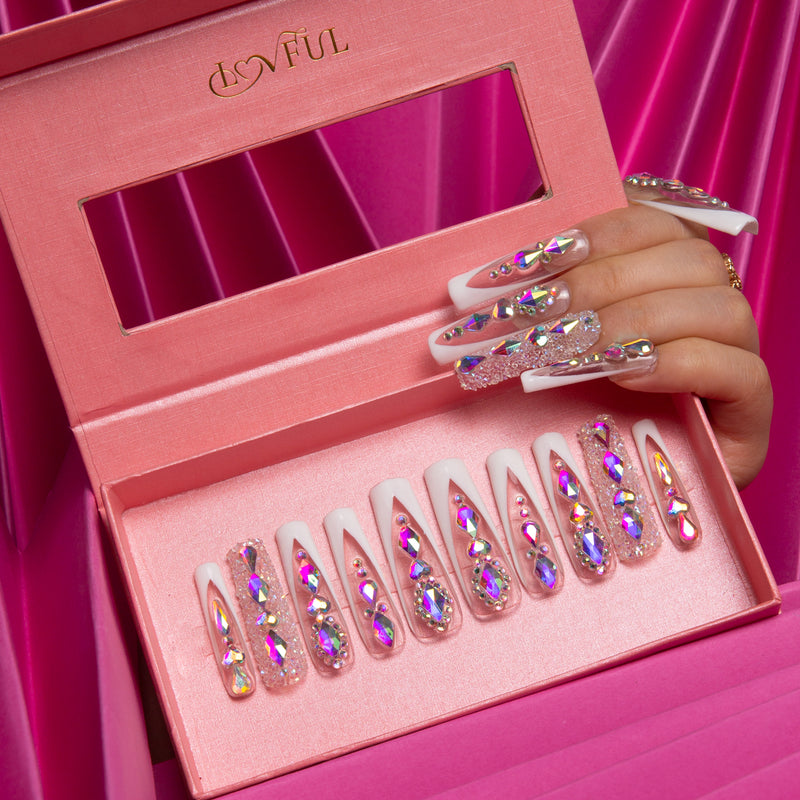
Acrylic nails are a popular choice for those looking to enhance the beauty and length of their natural nails. However, there comes a time when these artificial nails need to be removed. Removing acrylic nails at home can be a daunting task, but with the right steps, it can be done safely and effectively. This guide will walk you through the process, ensuring your natural nails remain healthy and intact.

Understanding Acrylic Nails
Acrylic nails are created by combining a liquid monomer and a powder polymer to form a hard protective layer over your natural nails. This process results in durable and long-lasting nails that can be shaped and styled to your preference. However, improper removal can lead to damage, so it is crucial to follow the correct steps.
Why Proper Removal is Important
Improper removal of acrylic nails can cause significant damage to your natural nails, including thinning, peeling, and breakage. Ensuring a gentle and methodical approach will help maintain the health and strength of your nails.
Materials You Will Need
- Acetone
- Cotton balls
- Aluminum foil
- Nail file
- Cuticle pusher
- Nail buffer
- Moisturizing lotion or cuticle oil
Step-by-Step Guide to Removing Acrylic Nails
1. File Down the Acrylic Layer
Begin by using a coarse nail file to gently file down the top layer of the acrylic nails. This will help to thin out the acrylic, making it easier for the acetone to penetrate.
2. Soak Cotton Balls in Acetone
Soak cotton balls in acetone and place them directly on your nails. Acetone is a powerful solvent that will help to dissolve the acrylic. Ensure the cotton balls are thoroughly soaked for the best results.
3. Wrap Your Nails in Aluminum Foil
Wrap each nail with a piece of aluminum foil to secure the acetone-soaked cotton balls in place. This will create a warm environment that helps the acetone work more effectively.
4. Wait and Check
Allow your nails to soak for about 20-30 minutes. After this time, check one nail to see if the acrylic has softened. If it has, you can proceed to the next step. If not, rewrap and wait an additional 10 minutes.
5. Gently Remove the Acrylic
Using a cuticle pusher, gently push off the softened acrylic. Be careful not to force it, as this can damage your natural nails. If any acrylic remains, rewrap and soak for a few more minutes.
6. Buff and Moisturize
Once all the acrylic is removed, use a nail buffer to smooth out your natural nails. Finish by applying a moisturizing lotion or cuticle oil to nourish your nails and cuticles.
"Proper removal of acrylic nails is essential to maintaining the health and beauty of your natural nails." - Nail Care Expert
Additional Tips for Healthy Nails
Maintaining the health of your natural nails is crucial, especially after removing acrylic nails. Here are some additional tips:
- Keep your nails trimmed and filed to prevent breakage.
- Use a strengthening nail polish to help rebuild nail strength.
- Moisturize your nails and cuticles regularly to keep them hydrated.
Recommended Products
Here are some products that can help you in the process of removing acrylic nails and maintaining nail health:
- Pure Acetone - Essential for dissolving acrylic nails.
- Cuticle Oil - Helps to nourish and moisturize your nails and cuticles.
Watch This Tutorial
For a visual guide on how to remove acrylic nails at home, check out this video:
By following these steps, you can safely remove your acrylic nails at home and keep your natural nails healthy and beautiful. Remember, patience and care are key to ensuring the best results.


